Personalization also known as customization made a big comeback during the last decade.
As per the State of Fashion report, personalization is emerging as the main trend of the year. Today, when you can easily find out people wearing the same things as you are, bringing a personalization factor to your store can help you offer something unique to the customers. This can give you a new customer base, revenue numbers, and business growth.
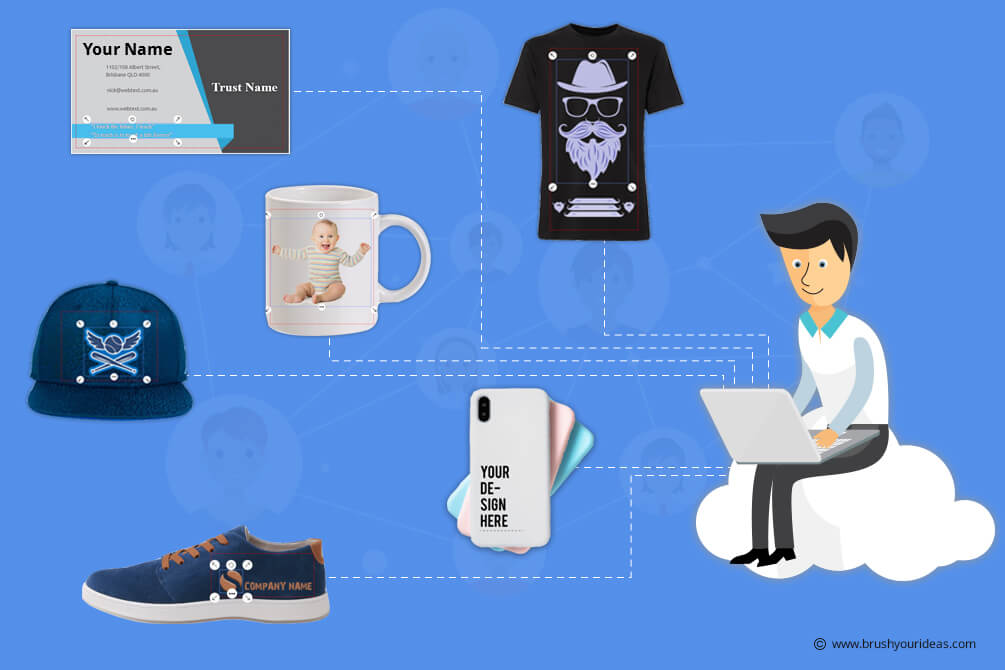
Brush Your Ideas provides a web-to-print solution that enables its customers to stand out from the crowd for years now. The good thing about this tool is, that you can eliminate the efforts behind creating new products from scratch, dealing with suppliers regarding the stock updates, and most importantly offer that unique factor into your store.
If you are still a little skeptical about the usability of the tool, then this blog is just for you.
Here we have shown some of the things that your shoppers can do easily with our product designer tool to create amazingly unique products.
Create Text Designs
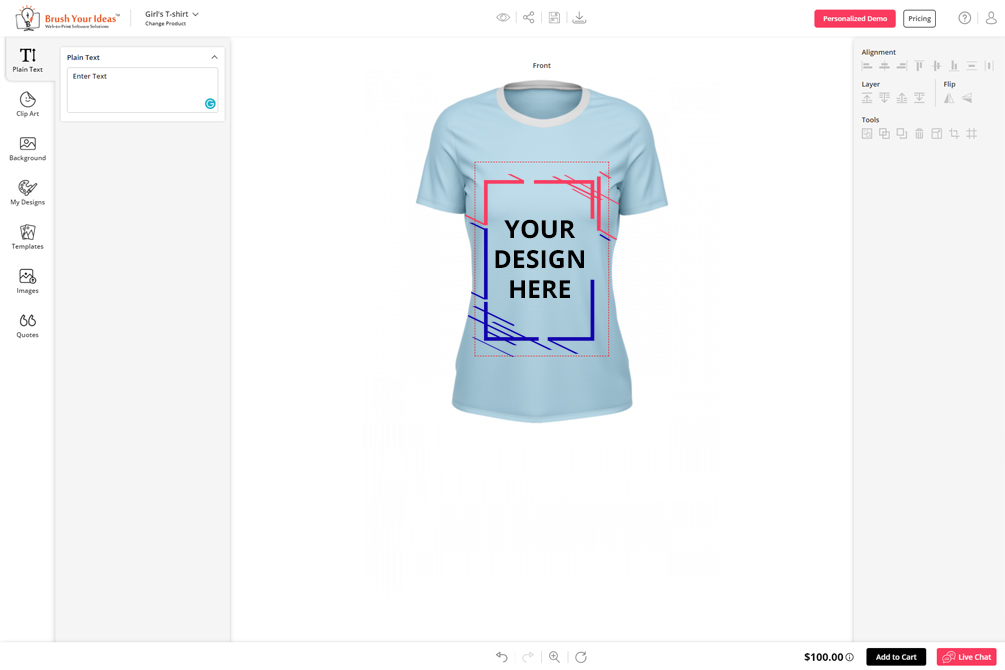
Brush Your Ideas designer tool has a built-in text design tool that will allow your customers to transform words into eye-catching designs in a few clicks.
Go to the design panel and add text in the “Plain Text” area.
While designing they can:
– Pick font
– Adjust font size
– Adjust letter spacing
– Pick text color
– Choose the distance and angle of the text
– Adjust position
Further effects they can apply:
– Stroke
– Drop shadow
– Opacity
– Skew
You can even upload more fonts into the default library.
10,000+ Clipart Library:
The tool has a large clipart selection that your shoppers can use in their designs as fun, unique elements.
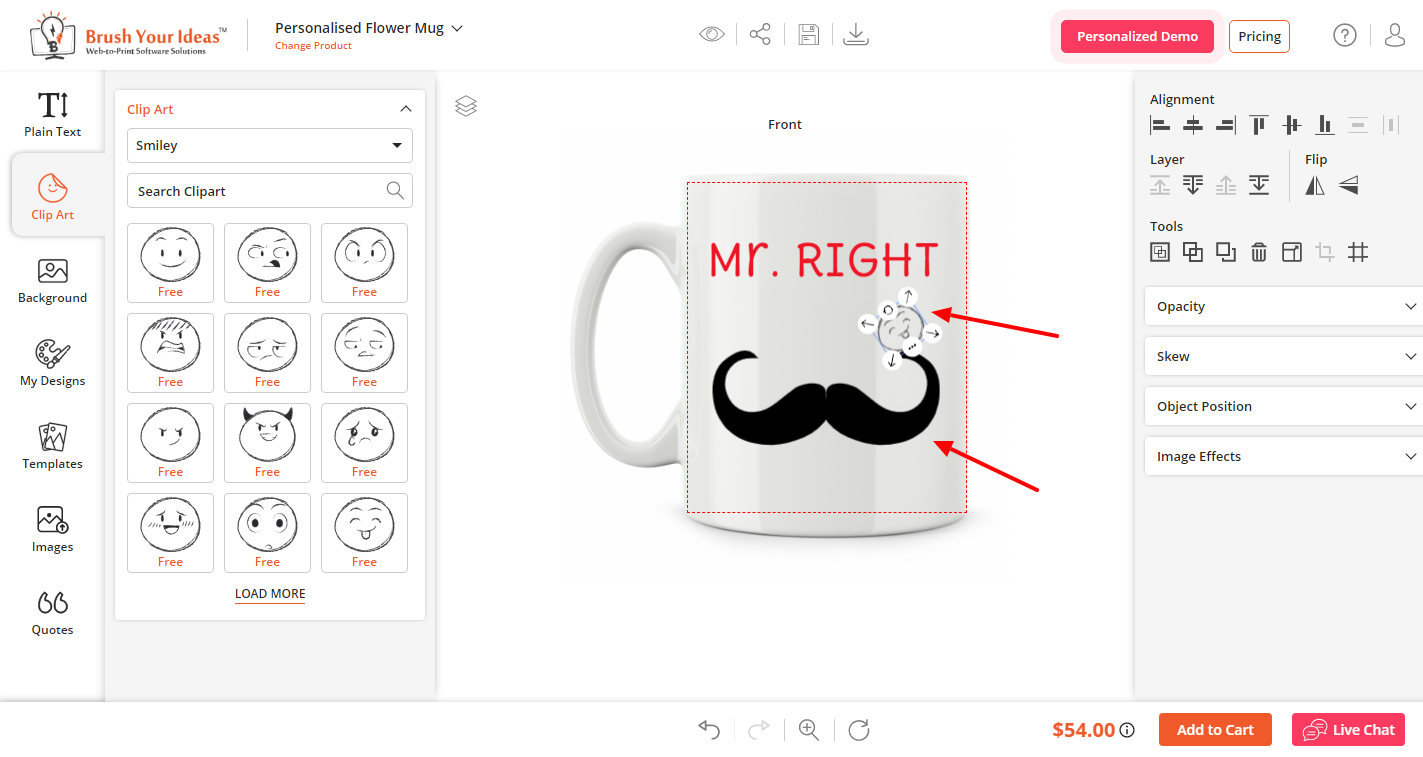
In the design tool, hit the Clipart tab to check out different symbols, drawings, emojis created by our expert in-house designers. You can even upload other clipart as and when required to expand your library.
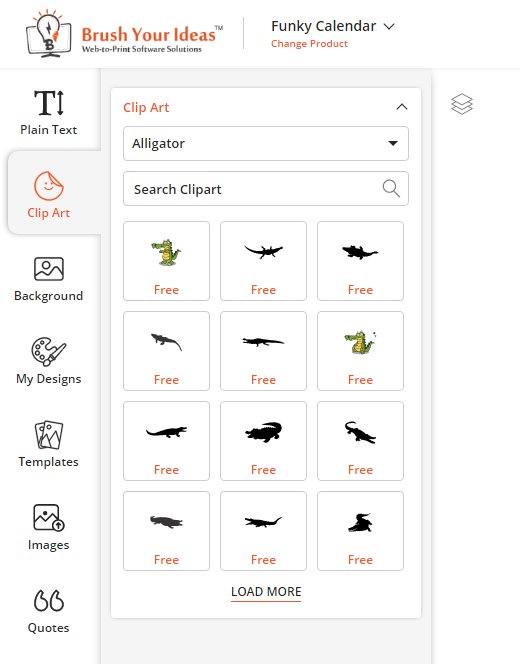
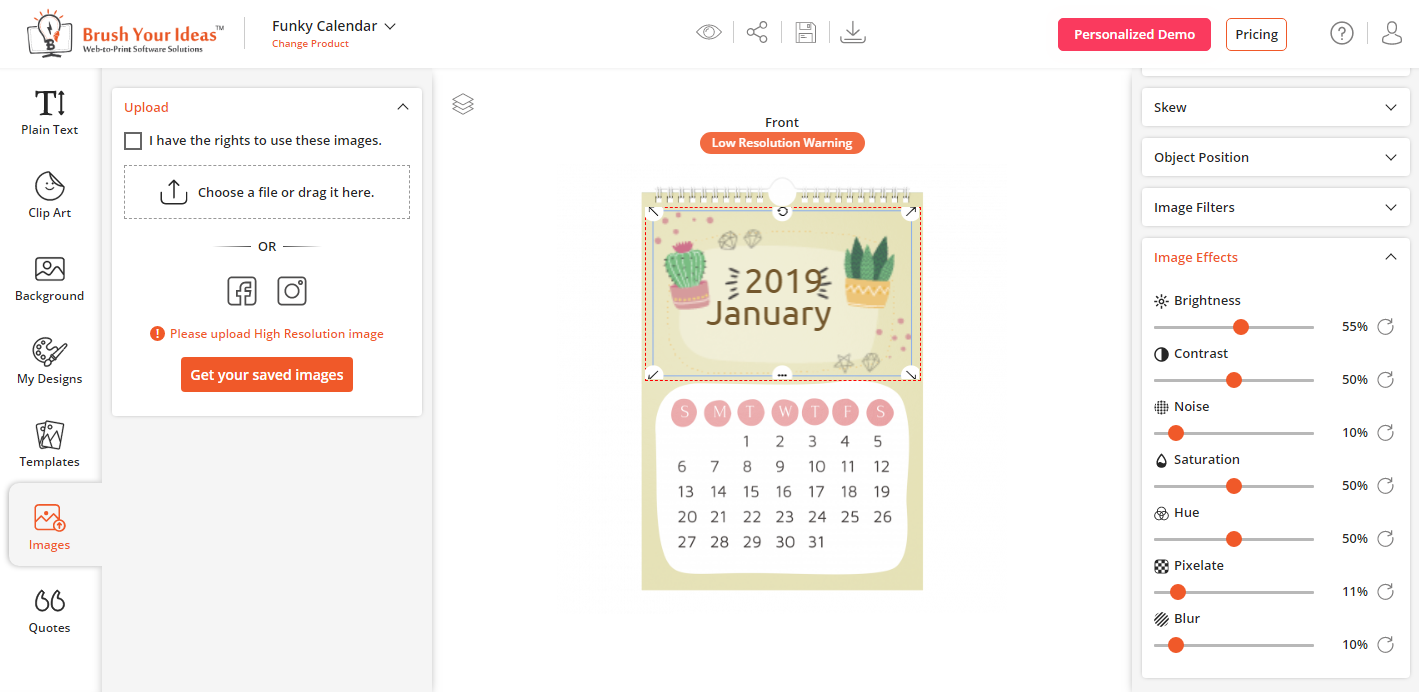
For further effects, they can apply image filters, adjust their opacity, object position, colors from the editing panel in the right.
Apply Background Patterns
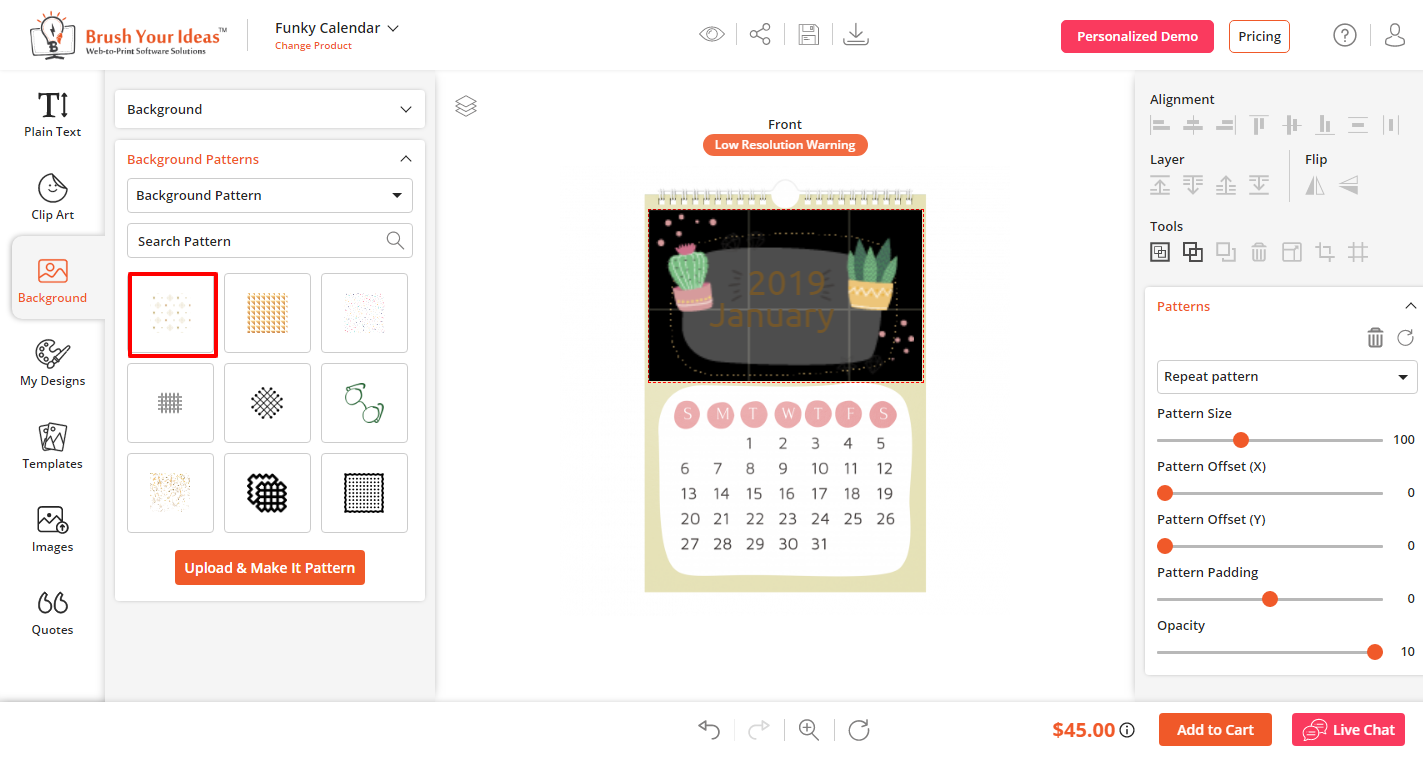
Backgrounds play a major role to give a makeover to the product. Your shoppers can browse through the library of default patterns in order to change the theme of background. If they want, they can even use images as their new background pattern.
Use Pre-defined Templates
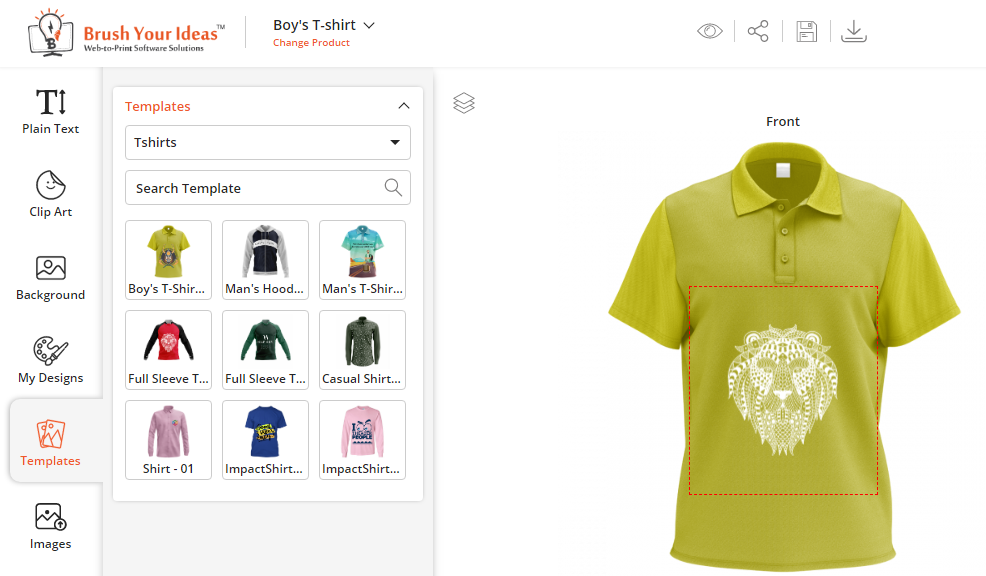
Our designers have created some pre-defined templates that your customers can use. Without much effort, they can easily finalize their products.
Apply Images and Quotes
It is easy to upload any external images on their products. They can use their social media accounts as well to upload images and design their product.
As Memes are ruling our feeds today, we have put some fun quotes inside the Quotes section that customers can apply to different products.
Create Designs with Layers
The Designer Tool lets your customers combine elements to create complex designs with several layers. Your shoppers can upload their own files, use BYI’s sample designs, clipart, text, all in a single design to create a unique product.
Users can experiment with the order of designed layers by selecting and dragging layers to rearrange them and find the order that brings out the best design.
Duplicate Design Elements
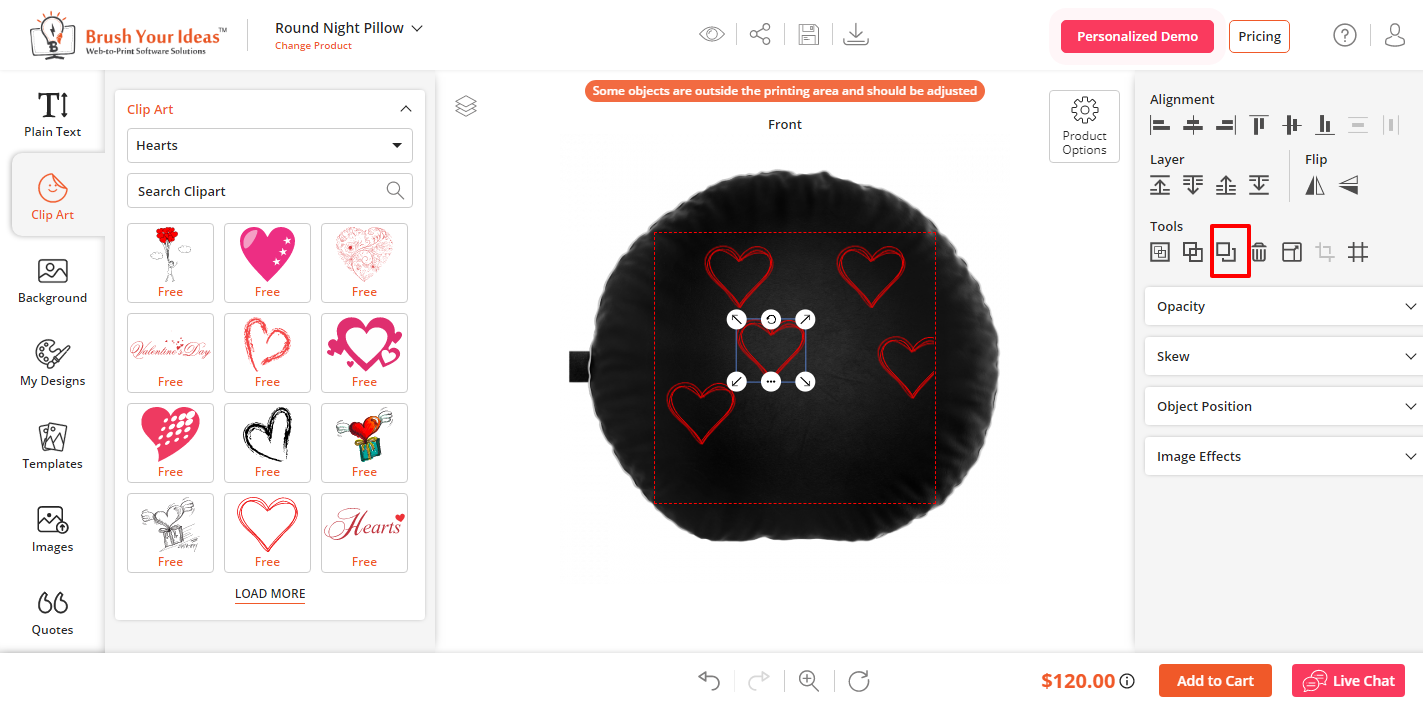
The duplicate feature can be a lifesaver when it comes to creating designs with a similar element. It adds each duplicated item in a new layer. You can also play around with the size, color, adjustment of every one of them individually.
– Upload a design element or pick from the available ones
– Click duplicate
– Manage the elements to create your final design
This functionality can be useful for customers who want to create product prints for products. Your shoppers can also add more design elements, text, and background colors to take their design to the next level.
Little things that go a long way:
– To delete all added elements in one go, there is an option that lets the users select all the objects. It will apply any functionality on all of them including delete, change color, size, etc.
– To adjust images, there are filters available so that users can have perfect images just the way they want. They can even adjust brightness, opacity, contrast, etc.
– With alignment options, users can easily adjust images or apply a best-fit option to directly set the image on the product.
– They can make any particular clipart into a pattern.
– With Product options, shoppers can also change the basic color, size of the products if required.
– In My Design section, they can use their pre-designed products. If they want to make a re-purchase and create products using the previous ones.
To explore this tool in detail, you can check out the live demo from here:
All product and company names are trademarks™, registered® or copyright© trademarks of their respective holders. Use of them does not imply any affiliation with or endorsement by them.




Follow with us