Preparing print ready files is one crucial part in online printing. It is not just about few clicks and getting prints done. There are multiple things which go behind preparing print ready files. From taking care of image quality, deciding the correct file type, making the necessary adjustments, and more.
All these things take up time and if you are a new print owner, understanding them might take a lot of time. But, not anymore, to help you, here we are with a complete printing guide on how to take your files to the final stage.
Before, we go into the details of steps for preparing files for print, let’s see some of the file types and which one to use.
Different File Types:
Raster File:
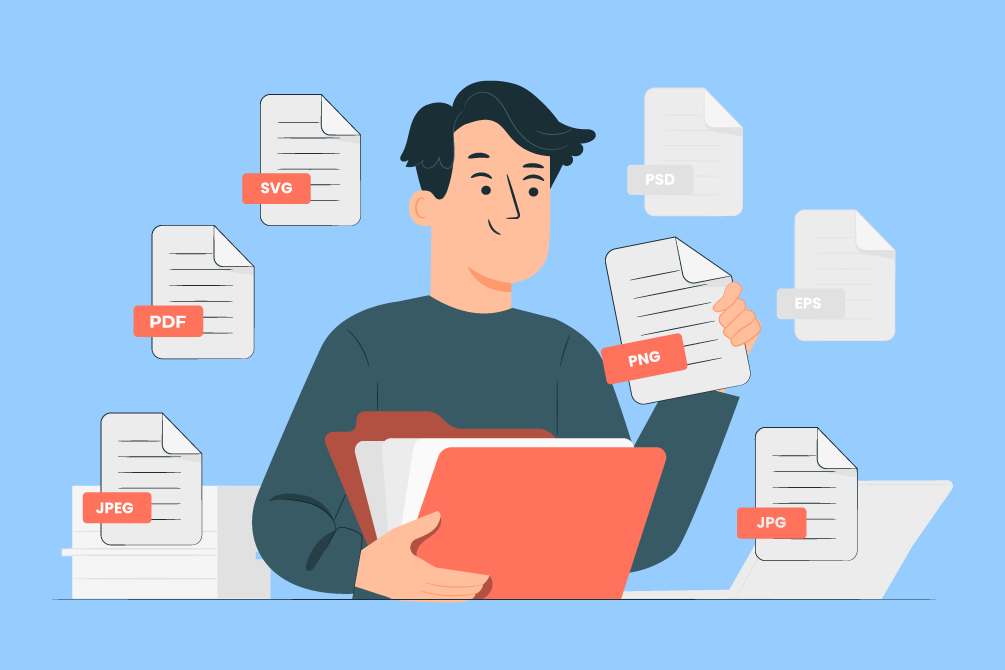
Raster files are of pixels and can be high as well as low resolution. You can easily convert them from high to low quality, but not the other way around. You need to take utmost care of the number of pixels used. If you are using low-quality raster images, it looks blurry and pixelated. The major difference between both the resolutions is Dots per Inch. Online images can be of 72 dpi but for better print, it needs to be 300 dpi. Below are some examples of raster files:
- JPEG: It is the most common file type, used across the internet. But, the only drawback is that it loses the quality of images when compressed.
- PNG: It is the second most popular file format. They have a clear background and are useful when you don’t want to have any white background. But, they are not suitable for printing.
- GIF: GIF is a new format of file having only 256 colors and it is not so good for printing on your format.
- RAW: This type of file format is especially for DSLR. Photographers usually use it to edit the pictures as it does not affect the picture quality.
- TIF: This is the common format for printing high quality images. It is useful in large scale print files.
- PSD: Photoshop is the raster file editing software. PSD file types can be useful for creating mockups of any type.
Vector File:
Vector files are the most scalable files. You can use the same files for stickers as well as billboards. Vector files are perfect when you zoom-in and see. They have the perfect curve as well as straight lines. There are three file formats supported in the vector files:
- EPS: This type of file format is very easy to open in multiple software applications like CorelDraw, Adobe Illustrator, Photoshop, and more
- SVG: They are the perfect solution for websites as their quality is very high when seen on desktop or mobile. The format is either text or images.
- Ai: Files are created in Adobe illustrator and saved in Ai file format. They are easy to edit and have a transparent background.
PDF:
Press ready PDFs can save raster as well as vector print files. They are a good solution for long file formats like images or file formats. Printers too prefer to have press ready PDFs which require high resolution images and have lots of text.
Next up, let’s see the things you must consider while taking your print files in the final stage
Thing to Consider while Preparing Files for Printing:
Below are some quick printing guides you can use to while preparing your print files:
Use CMYK:
Computers usually use a color space known as RGB to produce the colors but printers follow CMYK to produce colors. It is also known as the 4 color process. So, when you send files to the commercial printer they need to be in a CMYK format. Make sure to change the color format to CMYK before printing it.
Use Spot Colors:
Printers usually use 4 color inks to print their designs. But, many times it needs a specific color. Despite all the advanced techniques, it still becomes difficult to find the exact color. But, not anymore, with the help of spot color it becomes easier. To create a spot color it is made by orders for the particular projects. There is also an additional plate required for spot color.
If you are using a spot color, you might be using a pantone matching system. Because it becomes easy to create a spot color which helps press operators to achieve the exact shade. The only drawback is that spot color is a bit costly solution as it needs an additional plate for printing.
Check Image Quality:
Resolution of an image has a direct impact on the quality of the image. If the image quality and resolutions are low, they will affect the quality of the final print. To make sure that the image quality is good, you need to make sure that the image resolution is higher.
Quick brief about image resolution:
Image resolution is the amount of data present in the digital image. It is related to the number of pixels present in the image. When you print an image you transfer the data in the form of DPI. It determines the image quality of a printed piece. Mostly, it needs to be 300 DPI for good quality prints. But, computers often have images at 72 DPI and this makes the final print quality bad. Thus, make sure to have the highest quality images before giving them to print.
Select the Right Image Format:
Selecting the right print file formats is essential for printing. Decide the correct file format and send the highest quality images. Different image formats use different compression ratios and quality of the image depends on the same. PNG and TIFF images work with the best print projects. JPG images have a 100% quality after compression but if you recompress, the quality degrades.
Deciding Paper and Ink:
Papers’ weight has a lot to do with the printing. Heavyweight papers are good for business cards, bottle-neckers, cards, etc. whereas, lightweight papers are perfect for brochures, envelopes, pages of catalogues, and more.
Heavyweight papers are expensive, premium quality, and have a high-quality texture. They are mostly used for stationery, invitations, artwork, and for legal documents. Choosing the right paper can be difficult. So, here are the few things which you can do:
- Choose them depending on the weight
- Decide on the basis of paper types
- Extra coating like matte or gloss
Depending on your needs and these three things you can decide which type of paper you prefer for printing various things.
Bleeds:
Bleeds are a printed content which extends the trimmed edge of the final print piece. They are important because they let the artwork be cut without any need of artifacts. Without, bleed there will be white space around the cut edge. Make sure the bleed is larger than 0.25” of trim size and design your project within the limits of trim size so bleeding becomes easy.
Next up, let’s see some of the things you need to consider while working with custom effects.
Things to Consider for Custom Effects:
For custom effects following are the three things you need to consider:
Embossing/ Debossing:
Embossed graphics, text, and artwork are pressed upward and give a 3D texture a printed piece. The opposite of embossing is debossing, the text or artwork is pushed down into a paper which creates an indentation. Both of these custom effects can create a single-level, multi-level, or can be sculpted. Once, you get the sculpted emboss or deboss, an artist sculpts your artwork with clay and uses it to make a mold of the project.
Sculpted embossing and debossing are expensive but can achieve a high level of detail. Additionally, if you are using standard embossing or debossing for your printed files remember that the details will not be visible. Meanwhile, the thickness of the paper too has an impact. Thicker the paper, less details you can achieve.
Foil Stamping:
Foil stamping is a very popular way to make text, artwork, and logos work. They are often useful to make a seal or award using golden sheets. There are two types of foil stamping; metallic and matte. Metallic foil can achieve more details than matte foil because the surface is hard, has metal flakes, and gives more strength.
There are chances of both types of foil to bleed together and details might get lost. Thus, when you are sending an artwork for foil stamping, you can use vector artwork instead of bitmap files. Bitmap files can have a negative effect on foil stamping and can make it look blocky and of low quality.
Die Cutting:
Die cutting, cuts your paper so you can have knocked out design. It uses a metal die which looks like a cookie cutter on your paper. Its shape is made with the hands and the standard die cuts must be at least 1/8th of the inch of space between the designs. Sharp points might not work well and a small text can lose the quality of the print. Make sure, if you need a better die cutting that should be less than 1/8th then use laser die cutting.
Conclusion:
Preparing files for print has its complexities and often becomes a headache for print owners. There are multiple things prints owners need to care about before sending the final design print files. Often the multiple steps and lack of understanding of different file types can create a chaos to print owners.
However, over a course of time, many printing owners have started referring to printing guides to have better understanding of different technicalities of print. But, if you are someone, who does not prefer to go through all the technical jargon, follow these simple steps and get the best out of it.
Additionally, if you are planning to provide your customers with a freedom to create their own designs and increase your sales, Product Design Tool by Brush your Ideas is your answer. We have helped many businesses increase their sales and provide better service with our tool.
All product and company names are trademarks™, registered® or copyright© trademarks of their respective holders. Use of them does not imply any affiliation with or endorsement by them.


Follow with us