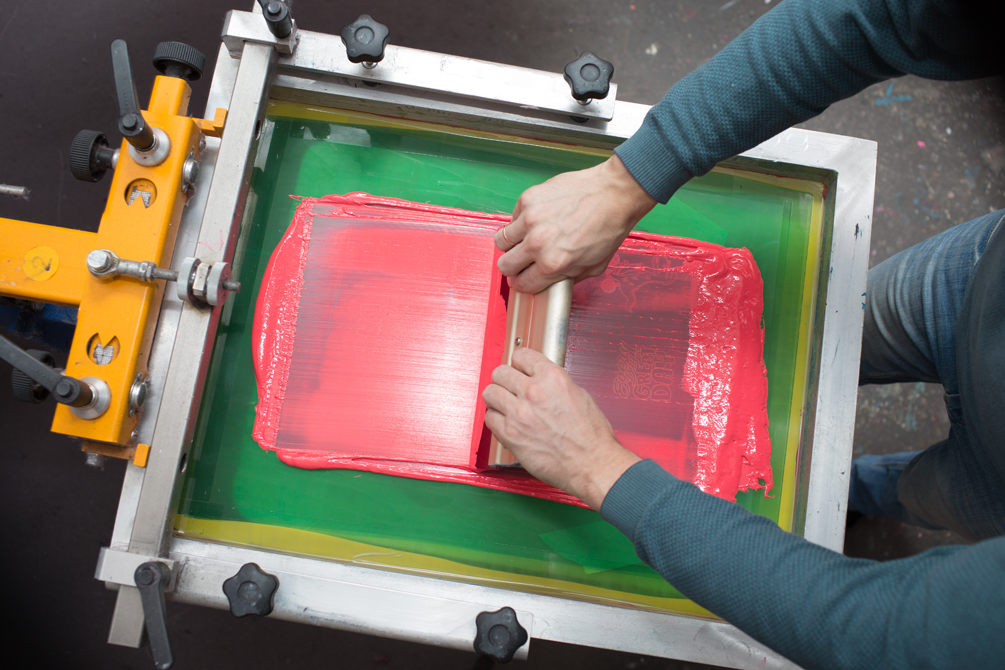
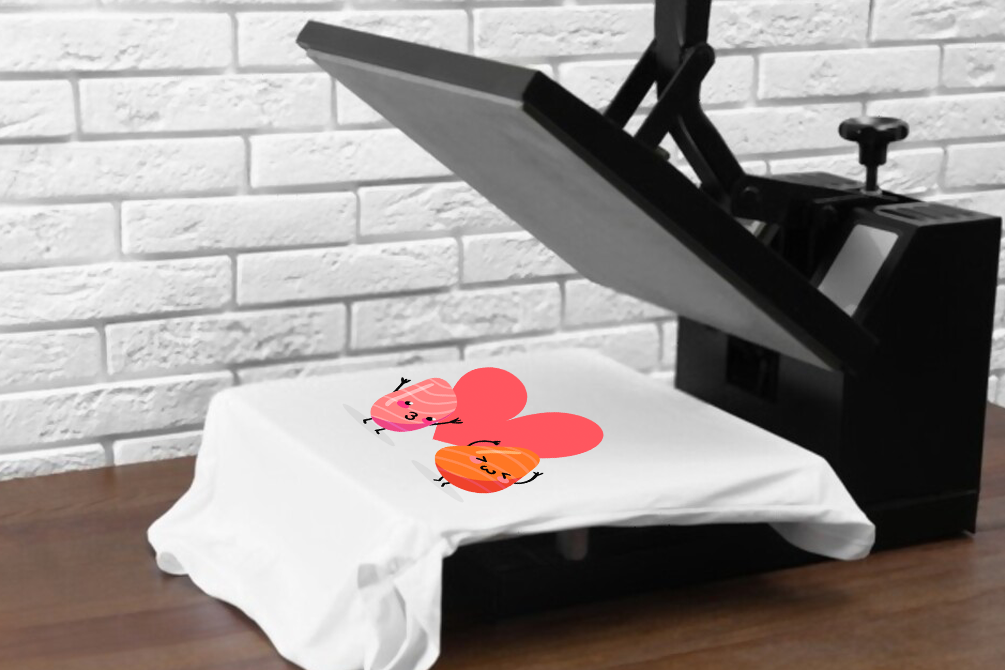
Screen Printing has been a popular printing method as it is cost-effective, versatile, and provides long-lasting and high-quality outputs.
However, there are some common screen printing issues that you may have to face as a screen-printer. If you are a screen printer, ensure to handle those issues in a way that they don’t affect your productivity and business.
So, let’s understand in detail those common problems and how you can resolve them.
Off Contact
Sometimes, maintaining color density is difficult in halftone printing. This is because proportional densities of the four process colors determine hues in this process. Several factors that determine the amount of ink flowing through a particular screen can disrupt these proportions. The most common cause is uneven level of platens that results in a change in the critical off contact distance which leads to a visible shift in the hues.
If you want to produce a crisp screen print, you should be able to snap the screen upward, that can facilitate the shearing of ink as the squeegee passes. Setting your press to have an adequate off-contact distance (tiny vertical space is left between the screen and the pallet below), ensures that there is enough room for the screen to rise up and away from the screen printing substrate.
In general, set the off-contact distances as below.
>1/16 of an inch for lighter substrates like t-shirts.
>1/8 of an inch for thicker substrates like fleece.
Even if you set these off-contact distances but results are fuzzy; consider adjusting the off-contact distance and performing a trial run of your screen printing.
Fibrillation/Frosting
Fibrillation often occurs more on light shirts. When there are prints involving transparent inks to use the whiteness of the shirt for certain bright hues; this effect is more visible. When these inks get washed, the lack of a heavy plastic coating causes some unprinted fibres to break. When they break through the ink layer, they cause the image to dull out or you can say ‘frost’ the final image. This has recently been a very critical issue since an increase in the demand for heavy-weight t-shirts. And the fibers in these super heavy garments are more prone to this effect.
To avoid fibrillation, formulate a strategy and adhere to it strictly. To determine which substrates are at high risk of fibrillation, running a few test prints and the number of wash and dry cycles can be a good idea. Consider what kind of shirt you are working on and run a couple of tests on them – especially if your customer insists on a softer shirt.
Screen Tension
Every time your squeegee passes over the mesh, your screen should snap off the substrate completely to leave behind a crisp and clear print. However, without proper screen tension, the screen can sometimes ripple across the substrate that can smear ink, blur edges, and shift the surface of the substrate.
Ideally, screen tension should range between 20 N/(inch)2 and 25 N/(inch)2. Though mono-color prints can go well with lower tensions, screen tension below 20 Ne N/(inch)2 can cause issues with color blending in the case of multicolor prints.
Substrate Movement
In case your substrate is not stable and keeps moving while printing; it may result in blurred edges and distort the entire image at times. To avoid this problem, check and ensure that your pallets are not loose. After ensuring that the pallets are all okay, the next thing to check for is adhesives that you use to keep the substrate in place. In case you need, you can also spray adhesives – especially when you are printing on a heavier fabric like fleece that may require a specialty adhesive.
Ink Viscosity
Although a lot of companies claim that their inks are print-ready, the reality is only a handful of them actually are fully print-ready. A large number of those inks require you to thoroughly mix them and add additives (like low-bleed additives) into them to dilute them out and make them suitable for your project. Make sure the additive you use doesn’t over-dilute the ink beyond its ideal viscosity and keeps it appropriate as per your print requirements.
Stencil Issues
Even after ensuring a proper setup of your process and addressing all the ink-related issues or any other equipment-related issues, your screen prints may still have blurred edges. It may be due to stencil-related issues.
For example, if you haven’t exposed the emulsion properly, the edges of your stencil may become weak during washout or printing. As a result, the edges of your images may get jeopardized. In another case, if an emulsion is too thick and can’t span the grid of the screen sufficiently; it can lead to blocks of the screen to be visible on the edges of your screen print.
Some tips like using:
– A higher mesh count
– Not over-washing your screen
– Creating a sturdier emulsion
– Using a capillary film in place of liquid emulsion to create a stencil
– Increasing mesh tension
– Using a larger squeegee
– Removing extra ink buildup
– Improving the screen-making process
…can help avoid stencil-related issues.
Sticking of Image at the Back of the Screen
Sometimes, spreading the ink over a large area or if the size of your print is the same as that of your paper, ink sticks to the image at the backside of the screen. To resolve this issue, you should use a large screen and pull off the paper before it spills on the screen. If you intend to use a vacuum bed, position the newsprint paper over exposed holes to direct the air to your print area.
Quick-Drying
If you find your ink to be drying on the screen immediately after you print and affecting your print quality; it is known as Quick-Drying. It occurs when there is too much ink added into the print medium. Another reason behind quick-drying could be leaving the screen to dry between prints rather than flooding.
To fix this, you can take your screen to the washout booth and start it again after giving it a good rinse. A retarder is highly helpful – especially when using white ink to help avoid quick drying as white ink dries comparatively faster.
Need help with t-shirt printing? Check our t-shirt design tool to enable customization in your store!
Pinholes
Pinholes are basically those tiny imperfections that appear on the screen in the form of tiny transparent dots of ink that shouldn’t actually be there. It is a flaw in a screen coated with the emulsion that leads to circular thinning defects in emulsion films.
Some reasons like:
– Mesh contamination
– Poor drying techniques after degreasing
– Improperly prepared emulsion
– Poor emulsion quality
– Improper coating speed
– Incomplete drying of emulsion before exposure;
…can lead to pinholes formation.
There are some tips that can help you avoid the formation of pinholes – a ubiquitous screen printing issue.
– Use a clean and degreased screen.
– Refrain from exposing screens to dust during drying.
– Use a quality film and ink for the creation of positives.
– Pick the right emulsion that suits your project.
– Apply the emulsion slowly giving it time to dry properly.
– Expose the screen fully.
Scorching
Improper heating of the shirt between colors on the press during flashing or curing in the main dryer causes scorching. It can cause evident hues on the print. Scorching can be in a variety of hues ranging from undetectable yellow to a Cajun blackened. In general, large areas of brown or yellow or brittle fibers indicate a scorched shirt. Ascertain maintaining a delicate balance of temperature and time to gel or cure the inks.
Image Bleeding
When excessive ink passes through the screen, it causes image bleeding at the edges. To avoid image bleeding, ensure to use a squeegee at a 45-degree angle to the screen. Avoid pulling the ink more than once as it will put too much ink on the screen that can cause bleeding. You should also keep cleaning the excess ink from the screen and squeegee. If you use a low-cost paper like a news-print, pulling the squeegee over ink without putting any extra ink to use can work well. Keep repeating this till you don’t find any excess ink on the newsprint. Generally, the process may require up to four pulls at maximum.
Dye migration
In shirts having polyester, the dyes you use for garments generally fail to bind themselves to polyester fibers and the color can affect the printed area. In some cases, dye migration is visible immediately after curing while in some others, it can appear weeks after printing. The maximum effect of dye migration is noticeable in red shirts with white ink.
To avoid dye migration, you should select dyes compatible with the polyester and strictly adhere to process parameters and timings.
Garment Stains
There may be a variety of reasons behind stains on garments during screen printing. Some of them are over inking, machine oil leaks during sewing, etc. Stains are not subtle – rather clearly visible defects and you can’t afford to ignore them. Therefore, even a little discoloration on the garment should be informed to the printer.
The possible solutions that can help avoid garment stains include:
– Good work practices
– Regular wiping of machine and floor after oiling,
– Ensuring that workers’ hands are clean
– Using of dry lubricants if feasible
– Maintaining cleanliness in the work area
– Cleaning and covering the materials when not in use
Poor Wash Fastness
Poor wash fastness: Improper curing of ink leads to poor wash fastness. Adhering strictly to the process as designed while developing the sample, and training the people adequately is essential to overcome this problem.
Over Staining of Mesh
Excessive staining happens due to the mixing of too much ink with the print medium. To lower the risk of over staining, flooding of screens between prints can help. You can also apply a disinfectant cleaner spray on the screen to remove even any smallest ink portion that has dried on the screen without having to mix it with any other medium. In the end, rinse the screen thoroughly.
Opacity
If the color of your substrate shows through the print, it leads to reduced opacity making images seem dull. As such, there is no particular benchmark for opacity. However, there should be no weave pattern visible through the ink even under minor stretching for opacity to be called proper. On dark shirts, this problem gets worse as there is a need to cover the shirt color with a layer of opaque lighter colors thick enough without leading to stiffness in the shirt.
To avoid this issue, you should lay down a white underbase or a thicker ink deposit. To achieve it, you should try not using an ink additive, printing through a lower mesh count, creating a thicker stencil, printing with a larger off contact.
Therefore, to judge the level of acceptability; you should be able to understand and notice the poor coverage when you see it. You should also train your employees so that they have a sharp eye for opacity and are able to take care of that.
Improper curing
Curing is the last but one of the most important steps in screen printing. It is the chemical process by which the ink dries and sticks to the fabric. Improper curing can result in visible cracks in ink on the fabric after a few washes. To avoid this issue, maintain the proper temperature required for a particular curing method or ink you use.
In a Nutshell
Now that you have understood how some common screen printing issues can impact your screen printing output quality, it is important for you to not let them creep in. By following the above-discussed solutions to issues, you can keep them at bay and produce the best results.
Are you a first-timer and want to launch your own online print store with a minimum budget? Our Web-to-Print solutions can help you out.
All product and company names are trademarks™, registered® or copyright© trademarks of their respective holders. Use of them does not imply any affiliation with or endorsement by them.


Follow with us